Furikake Brioche
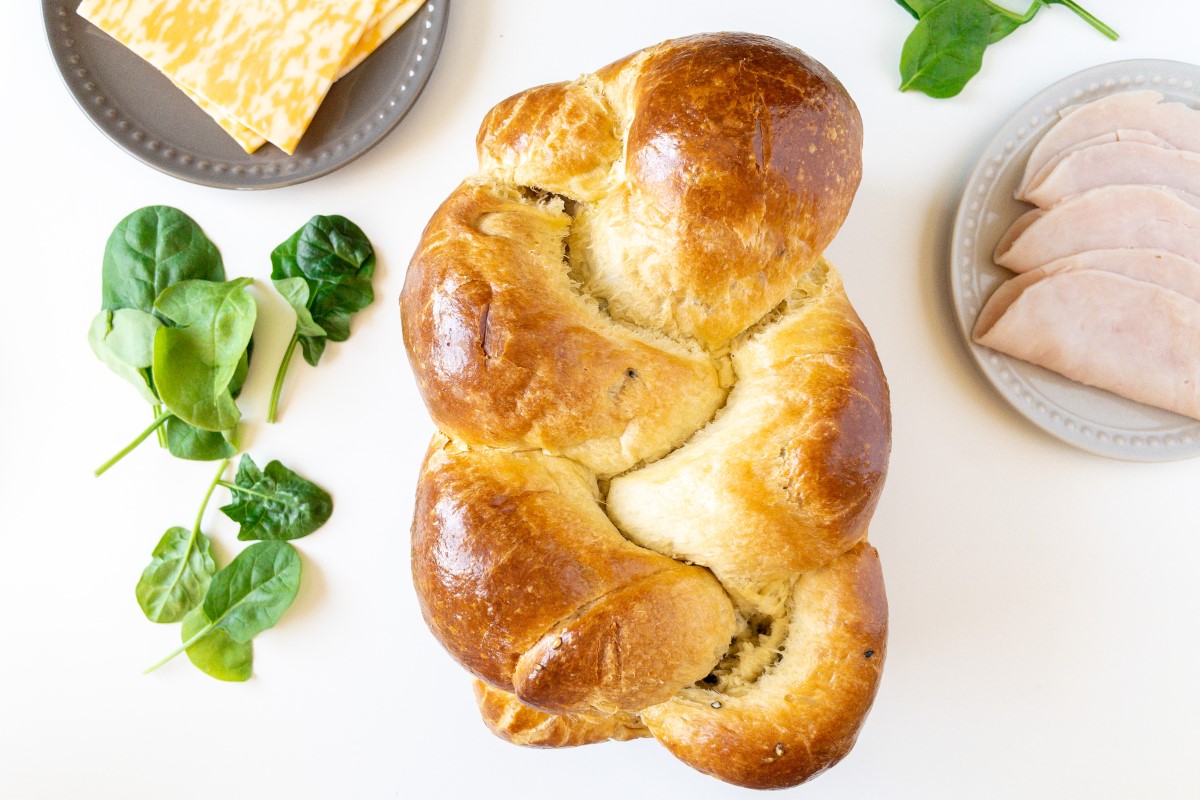
This Furikake Brioche bread is soft, smooth, and fluffy with a hint of savory seaweed and sesame seeds. The furikake seasoning is rolled and then braided into the brioche dough, creating hints of savory swirls in the finished bread.
Low and slow is the name of the game for this recipe! Set aside ample time to knead and rise the dough. This recipe also rests overnight in the refrigerator. Even though two days to make a loaf of bread can feel like a long time, breaking it up into two days allows for more flexibility with scheduling instead of trying to do it all in a single day. Patience is key! The temperature of your kitchen will also impact the duration of time it takes to complete this recipe, so be ready to check your bread along the way and look for signs that it’s ready to move to the next step.
Featured Ingredient – Furikake
What is furikake? Furikake is a Japanese dry, mixed seasoning that comes in a variety of flavors. It’s often made of seaweed, sesame seeds, salt, and may also contain other ingredients like dried fish, powdered miso, and other flavors and spices. This seasoning has gained popularity in the United States, especially in Hawaii and the West Coast. It’s used as a multi-purpose seasoning that can be sprinkled on rice, eggs, ramen, fish, and a variety of other foods.
Benefits: Though this recipe only uses a relatively small amount of furikake, furikake contains Nori seaweed that has nutrients like calcium, iron, copper, and magnesium, to name a few. It also contains quite a few vitamins, like A, B, C, D, E, and K.
Where to get: I got my Furikake at Trader Joe’s. You can also find it in Asian supermarkets. Also, check the international aisle at your local grocery store. Online is always an option.
Tips
Be patient and use the window pane test to check the gluten formation of your dough. This might sound a bit intimidating if you’ve never done it before, but it’s so satisfying once you experience it. During the kneading process, you might feel eager and anxious for your dough to be ready, but if you don’t see the window pane, keep kneading your dough.

Furikake Brioche
Ingredients
- 150 g all purpose flour
- 150 g bread flour
- 40 g sugar
- ¼ cup coconut milk
- 3 large eggs
- 2.25 tsp active dry yeast (1 packet or about 7 grams)
- 150 g butter cut roughly into 1 tbsp pats (10.5 tbsp)
- ½ tsp vanilla extract
- 1 tsp kosher salt
- 25 g Furikake seasoning
- 1 large egg, whisked (for egg wash)
Instructions
Day 1 – Prep, Knead dough, Rise 1
- Bring eggs and butter to room temperature. Cut the butter roughly into half inch cubes.
- Measure out sugar into a small bowl.
- Add the coconut milk, yeast and 1 tsp sugar (from the step above) into another small bowl and whisk gently to combine. Set aside for 5-10 minutes to allow the yeast to activate and start to form bubbles. While waiting, continue with next step.
- In your mixer bowl, add the eggs and whisk gently. Then add the vanilla, sugar, flour and sea salt. Stir to combine into a shaggy dough.
- With the dough hook attachment, knead the dough on speed 1-2 for about 3 – 5 minutes.
- Add the butter, in increments, allowing a couple pieces of butter to mix in most of the way before adding in another cube of butter. Continue adding butter slowly over the course of about 10 minutes. If the butter ends up sticking to the sides of the bowl, periodically, scrape down the sides of the bowl and help the butter get incorporated into the dough.
- Once all the butter is incorporated, increase the speed of your mixer to 2-3 and continue kneading the dough for another 30-45 minutes to build the gluten. Patience is key!
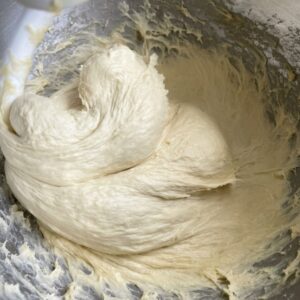
- The dough is ready when it pulls away from the sides of the mixing bowl and starts to look more like a ball. It will be soft, but shouldn’t stick to your hands. Do a window pane test to double check. If the dough breaks immediately when you stretch it, continue kneading the dough.
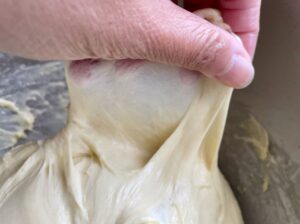
- When the dough if finished kneading, flour your work surface, and turn the dough out onto the floured surface.
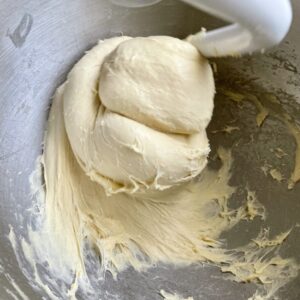
- Going around the edges of the dough, fold and press in the edges of the dough into the middle of the dough, creating a ball shape.
- Carefully pick up the dough and flip the dough so the bottom smooth side is now on top. Place it back into the mixing bowl with smooth side facing up.
- Cover the bowl with plastic wrap and place it in a warm spot to rise.
- Rise for about 1 hour until doubled in size.
- Press down gently with your fist to deflate the dough and turn the dough out onto a lightly floured surface. Fold in the edges, as was done before, pressing them to the center. Carefully flip the dough over with the seam side down, and place the dough into the mixer bowl.
- Cover and let it chill in the refrigerator overnight.
Day 2 – Shape, Rise 2, Bake
- Butter the bread pan.
- Remove the dough from the refrigerator.
- To shape fill and shape the dough, cut the dough into 3 even pieces.
- Take one of the pieces and roll it into a rough rectangle, with the long side a few inches longer than your bread pan. Roll to a thickness of about ¼ inch. This doesn't need to be exact.
- Sprinkle the Furikake seasoning onto the dough and gently pat it down.
- Then start rolling the dough along the long edge to create a log. Gently pinch the seam shut. Repeat with the remaining two pieces of dough.
- Braid the three rolled logs. Press the ends together so the braid stays together and tuck the ends under. Transfer to the bread pan.
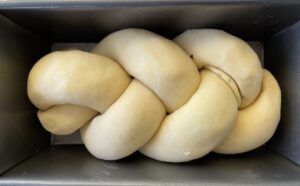
- Gently cover the pan with plastic wrap and allow to rest at room temperature for 3-4 hours to rise. This time depends on the temperature and will vary. The dough should rise to almost the top of the pan. If you press lightly on the risen dough, it should be soft and show an indention. (see notes below)
- Preheat your oven to 325F.
- Brush with egg.
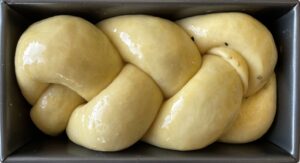
- Bake for 35-40 minutes until the top is a deep golden brown.
Notes
- This recipe requires patience and is low and slow, but the outcome is a soft, smooth, fluffy bread. For my Day 2 rise, the temperature of my kitchen started at 61F and over the course of 4 hours rose to 70F. If your kitchen is warmer than mine (perhaps in the summer season), then the rise will be faster. When I’m in a hurry, I sometimes cheat by putting my oven on warm for a little while and then turning it off to create a warmer environment to rise the bread. You’ll have to keep a careful watch though. My oven on warm gets to around 90F, which is too warm, so I open the door to release some of the heat before putting my dough in. It’s also easy to rise the bread too much. One batch that I made over-rose in 1.5 hours. When I went to bake it, it overflowed! This quick method may also produce an inferior bread texture, so proceed with caution.

