
Fresh DIY Almond Milk

Making almond milk isn’t hard but requires a little bit of planning and can be a bit messy. You just need to find the right set up so that it works for you. I use nut bags and make small batches to keep it manageable. Small batches are also great since fresh almond milk should be consumed within a few days. You can also add ingredients like cocoa powder, vanilla, salt, and sugar to give it an extra flavor boost.
My Equipment
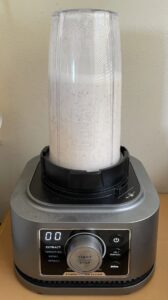
Ninja Foodie Power Blender & Processor System
Nut milk bag
Pyrex measuring cup – I like the wide opening, spout, and handle. I use this as the “bowl” I squeeze the almond milk into and then pour it into another container to keep in the refrigerator. This also helps if I make a couple small batches at a time. Some kind of bowl or pitcher could be used as a replacement.
Fresh DIY Almond Milk
Equipment
- Blender – A high-speed blender works best
- Nut milk bag – Nut milk bags make the job easier, otherwise you'll need a cloth to strain the nut liquid through
- Bowl/Pitcher – You'll need a bowl or pitcher to collect and store the nut milk
Ingredients
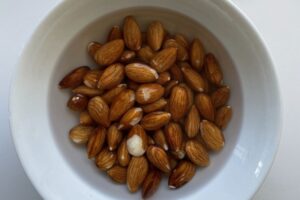
- ½ cup Raw organic almonds (soaked in water overnight)
- 3 cups Filtered water
Instructions
- Soak the almonds in water overnight. Then drain and rinse the almonds before use.
- Add almonds into the blender. If your blender has a smoothie blender cup (like mine does) this can be used instead of the blender pitcher.
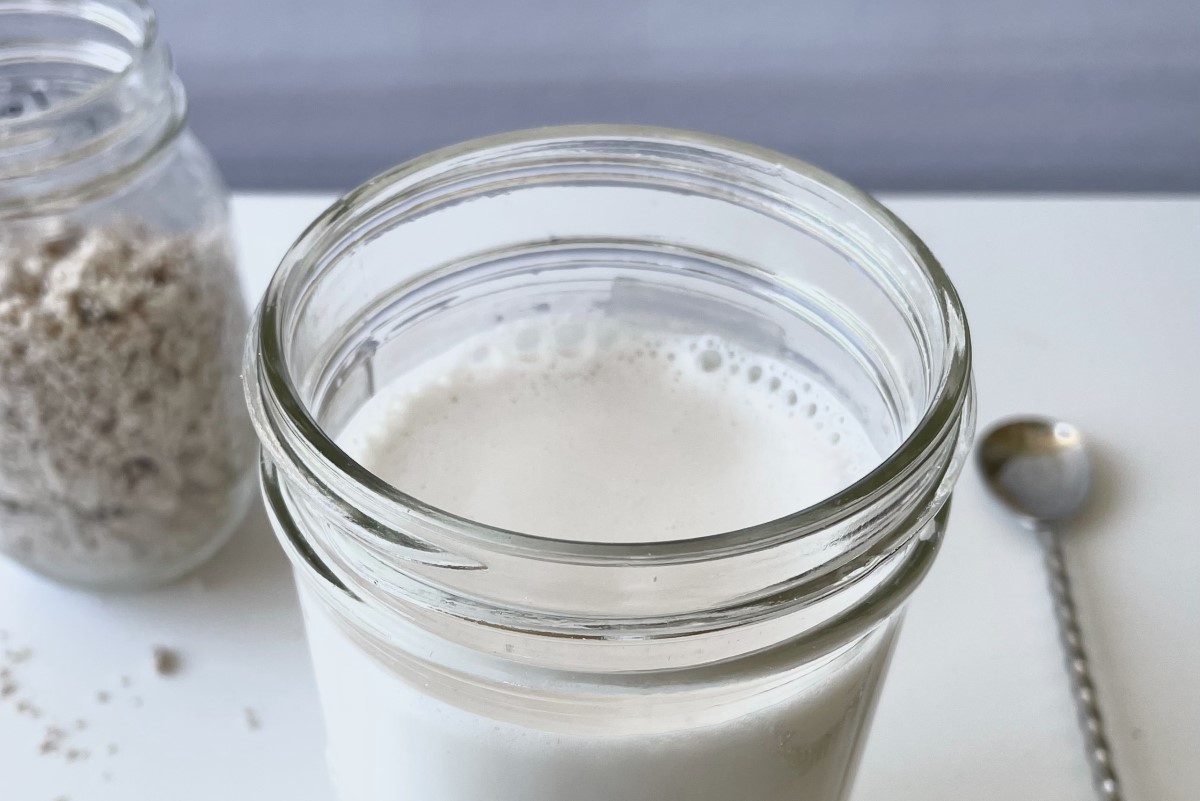
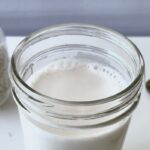
- Blend the almonds until smooth. Put the nut milk bag inside a bowl and pour the mixture into the nut milk bag. Slowly squeeze the liquid through the nut bag into the bowl. You now have almond milk! Add flavorings and/or salt and sugar to taste.
- Save the almond pulp for your next baking project! Store it in the freezer if not using it within a few days.
Notes
- When using the nut milk bag, the seam should be on the outside, which will make cleaning easier since the nut pieces won’t get stuck in the seam when you’re squeezing the liquid out
- I sometimes like to do a second pass on the almonds to make sure I get everything I can out of them. To do this, I usually add another cup of water (for a lighter almond milk), totaling of 4 cups of water, and blend half the water (2 cups) with the almonds, then squeeze the liquid through the nut milk bag, then take the almond pulp and re-blend that with the other half of the water (2 cups) and filter that through the nut milk bag